
本文为大家介绍VirtualBox下安装Ubuntu17.10图解全过程。
下载并安装 VirtualBox:

下载的软件包
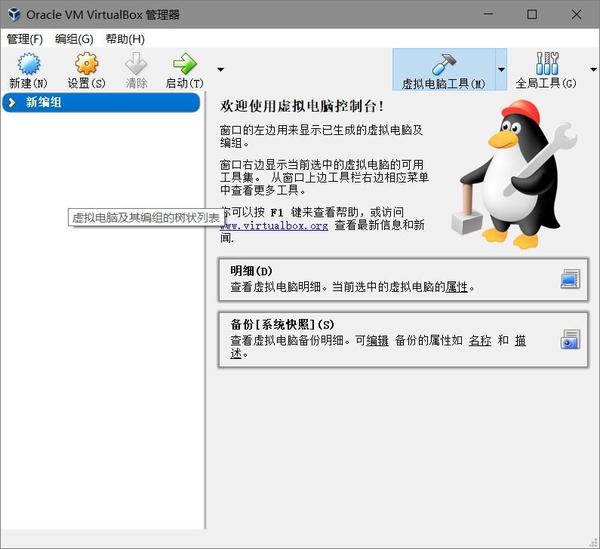
点击下一步,即可安装完成
下载并安装 Ubuntu17.10:

下载的ISO镜像
安装 Ubuntu17.10 开始:

点击新建 > 填写虚拟机名称 > 选择Linux类型 > Ubuntu 64bit 版本 > 设置内存大小 > 添加虚拟硬盘 > 点击右下创建

填入虚拟机文件存放路径 > 设置虚拟硬盘大小 > 选择VDI文件类型 > 选择动态分配 > 点击右下创建

创建完成后如图

点击设置按钮 > 系统-主板-启动顺序-光盘启动打勾并置顶

存储-控制器IDE > 添加Ubuntu17.10 ISO镜像

网络-网卡1 > 启用网络连接 > 选择NAT连接方式 > 即可完成基本配置

点击启动按钮 > 开始安装向导 > 选择中文 > 点击安装Ubuntu

不用勾选 > 单击继续

选择清除整个磁盘并安装Ubuntu > 单击继续

单击继续进行格式化磁盘!

选择时区shanghai > 单击继续

选择默认键盘布局 美国 > 单击继续

输入用户名和密码来创建用户 > 单击继续
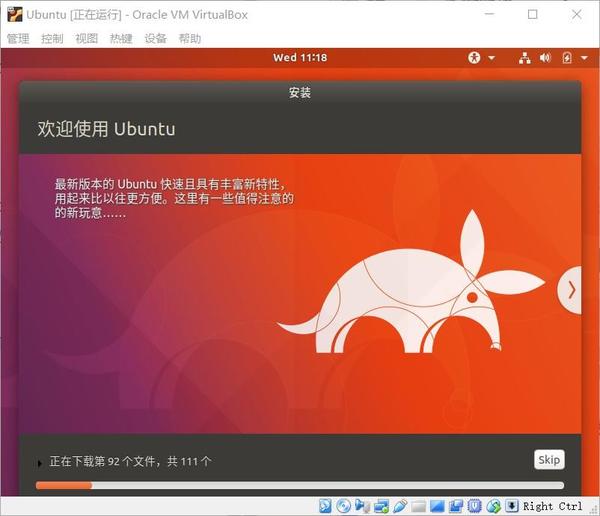
开始安装...

安装完成 > 点击现在重启

重启时会提示移除安装介质,否则无法正常重启

点击设备-分配光驱-移除虚拟盘 > 然后按回车键 > 正常启动

输入密码登录

登录Ubuntu17.10桌面成功!安装Ubuntu17.10完成!