使用Freescale提供的BSP版本是L3.0.35_4.1.0_130816_source,对应的内核版本为 Linux-3.0.35版本,u-boot为2009.8版本,不用另外下载,在搭建好LTIB后,内核已下载到rpm,u-boot也是。
第一步、解压BSP安装包
tar zxf L3.0.35_4.1.0_130816_source.tar.gz
第二步、安装LTIB
cd L3.0.35_4.1.0_130816_source
./install
运行这一步会有安装路径输入提示,根据个人情况而定,本人使用的路径是
~/Documents/L3.0.35_4.1.0_130816_source/Y
第三步、安装依赖包
这里可以写一个脚本,省略繁琐操作
vim Depend_install.sh
复制以下内容到 Depend_install.sh中
#!/bin/bash
# Install packages needed by LTIB
sudo aptitude -y install gettext libgtk2.0-dev rpm bison m4 libfreetype6-dev
sudo aptitude -y install libdbus-glib-1-dev liborbit2-dev intltool
sudo aptitude -y install ccache ncurses-dev zlib1g zlib1g-dev gcc g++ libtool
sudo aptitude -y install uuid-dev liblzo2-dev
sudo aptitude -y install tcl dpkg
sudo aptitude -y install asciidoc texlive-latex-base dblatex xutils-dev
# Packages required for 64-bit Ubuntu
# Do "uname -a" and see if the word "x86_64" shows up.
if uname -a|grep -sq 'x86_64'; then
sudo aptitude -y install ia32-libs libc6-dev-i386 lib32z1
fi
# The following recommended for linux development.
# They are not required by LTIB.
sudo aptitude -y install gparted emacs22-nox openssh-server
sudo aptitude -y install nfs-common nfs-kernel-server lintian
sudo aptitude -y install git-core git-doc git-email git-gui gitk
sudo aptitude -y install diffstat indent tofrodos fakeroot doxygen uboot-mkimage
sudo aptitude -y install sendmail mailutils meld atftpd sharutils
sudo aptitude -y install manpages-dev manpages-posix manpages-posix-dev linux-doc
sudo aptitude -y install vnc4server xvnc4viewer
sudo aptitude -y install texinfo
并添加权限
chmod a+x Depend_install.sh
执行脚本
./Depend_install.sh
第四步、打补丁
去https://community.freescale.com/docs/DOC-100725下载下面的补丁文件
0001_make_L3.0.35_4.1.0_compile_on_Ubuntu_14.04_64bit_OS.patch.zip
并在LTIB下解压安装
unzip 0001_make_L3.0.35_4.1.0_compile_on_Ubuntu_14.04_64bit_OS.patch.zip
git apply 0001_make_L3.0.35_4.1.0_compile_on_Ubuntu_14.04_64bit_OS.patch
第五步、编译LTIB
在LTIB路径下执行
./LTIB
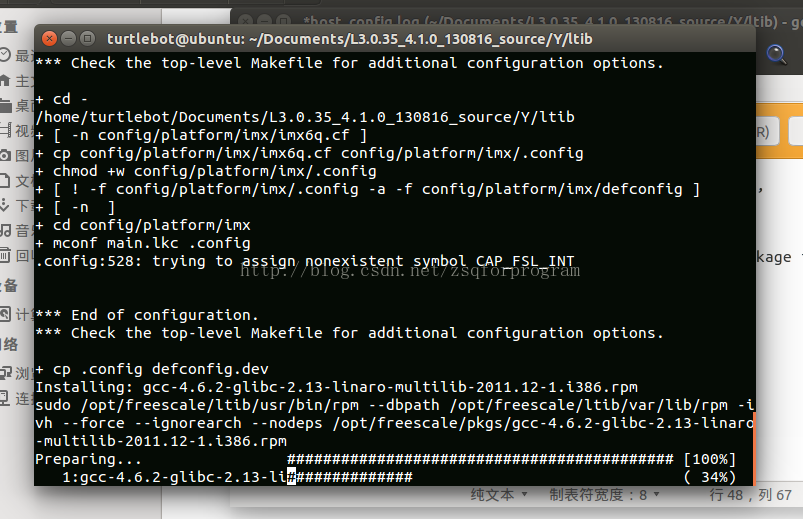
在本人编译过程遇到编译中断,在host_config.log日志文件可以看到找不到rpm包或者wget的提示
可以通过删除该包,再./LTIB,让LTIB重新编译,重新安装来解决。
另外如果出现SSLv2_client_method的提示,去https://github.com/openssl/openssl下载openssl.
路径依个人情况而定,执行以下命令
tar zxvf openssl-1.0.2.tar.gz
cd openssl-1.0.2
./config shared
make
sudo make install
回到LTIB目录执行
export LDFLAGS=-L/usr/local/ssl/lib; export CPPFLAGS=-I/usr/local/ssl/include
再./LITB重新编译
第六步、中间设定
如果没出现错误,会进入到以下界面
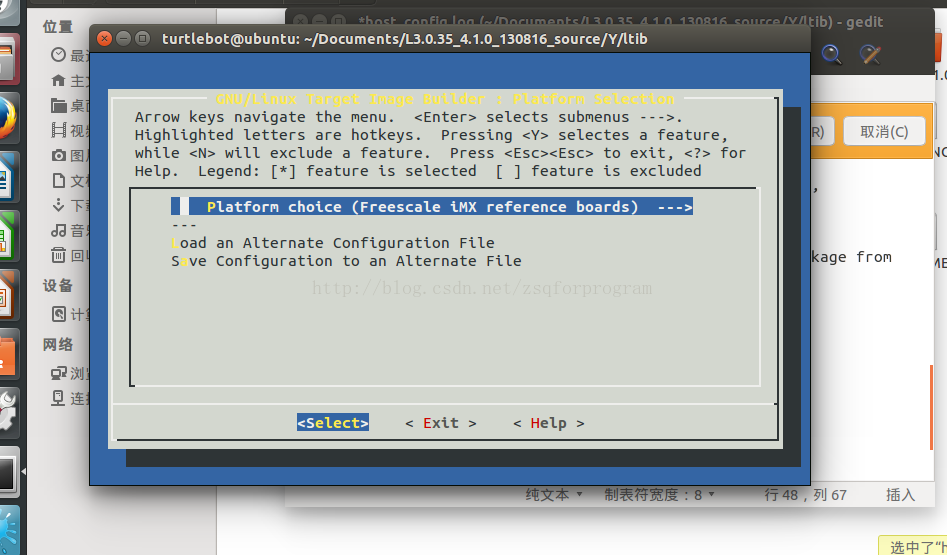
这里我们默认保存,选择Exit退出,进入下一个界面
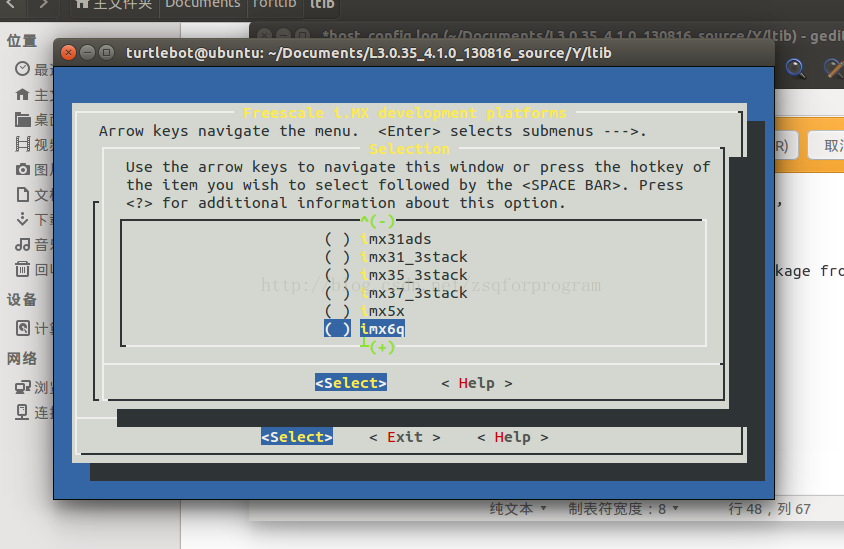
将Selection选择为imx6q,然后保存并退出,进入下一个界面
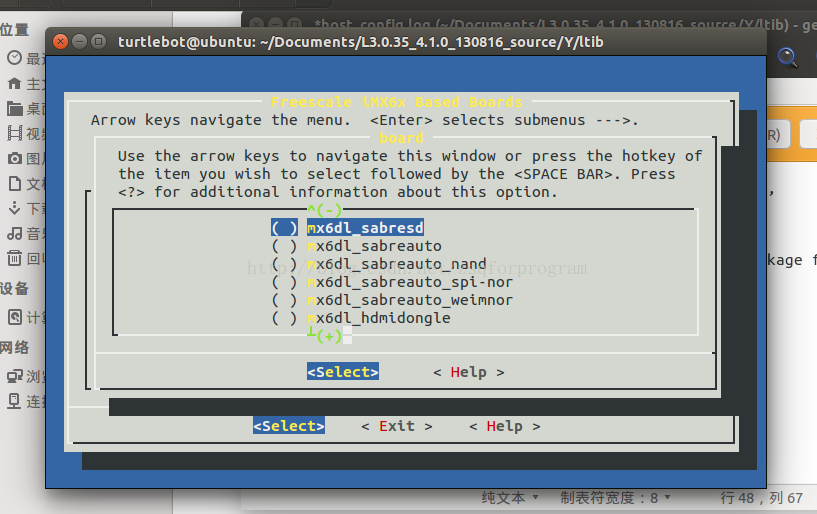
将board选择为mx6q_sabresd,然后保存并退出。
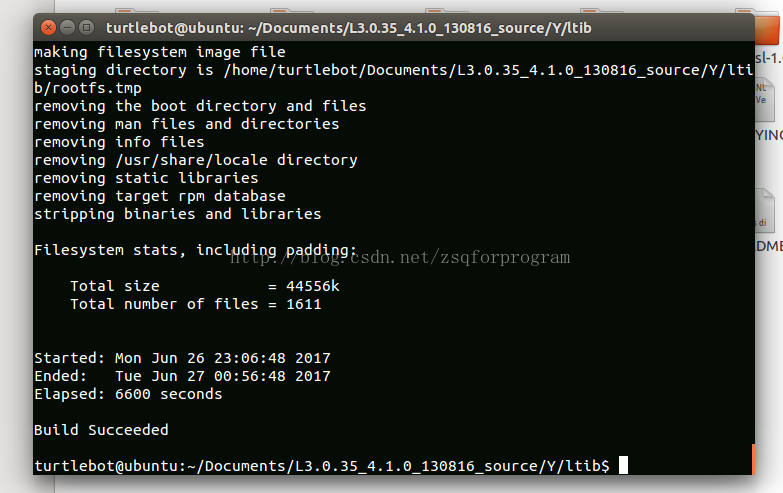
接下来要花费一点时间,最后如果出现Build Succeeded,说明你的LTIB环境已经搭建好了!
