本文安装的Django使用Nginx做反向代理,PostgreSQL做数据库;并且使用Python 3。
1、安装一些软件包
安装pip和python-dev:
$ sudo apt-get install python3-pip python3-dev
$ sudo pip3 install --upgrade pip # 更新pip
安装virtualenv:
$ sudo pip3 install virtualenv
为了开发环境的整洁,我把Django安装到Python虚拟环境中。
2、安装配置PostgreSQL
安装PostgreSQL:
$ sudo apt-get install postgresql postgresql-contrib libpq-dev
切换用户并登陆PostgreSQL:
$ sudo su - postgres
$ psql
设置密码:
postgres=# \password postgres
Enter new password:
Enter it again:
创建数据库django_db和用户django_dev:
postgres=# CREATE USER django_dev WITH PASSWORD 'test1234';
postgres=# CREATE DATABASE django_db OWNER django_dev;
退出:
postgres=# \q
$ exit
3、创建虚拟环境并安装Django
$ mkdir django_env
$ virtualenv --python=python3 django_env
激活虚拟环境:
$ source django_env/bin/activate # 退出虚拟环境使用 deactivate

安装Django、gunicorn和psycopg2:
$ pip install django gunicorn psycopg2
4、创建Django项目
$ cd ~
$ django-admin startproject hello
配置项目使用PostgreSQL数据库:
$ cd hello
$ vim hello/settings.py
DATABASES = {
'default': {
'ENGINE': 'django.db.backends.postgresql_psycopg2',
'NAME': 'django_db',
'USER': 'django_dev',
'PASSWORD': 'test1234',
'HOST': 'localhost',
'PORT': '',
}
}
在文件尾添加:
STATIC_ROOT = os.path.join(BASE_DIR, 'static/')
创建数据库和管理员用户:
$ python manage.py migrate
$ python manage.py createsuperuser
$ python manage.py collectstatic # 把静态文件放入到static目录
运行服务:
$ python manage.py runserver 0.0.0.0:8080
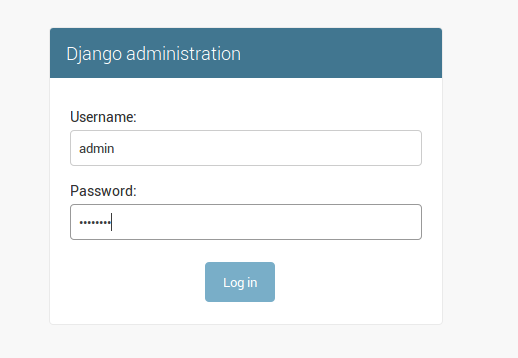
使用浏览器访问http://your_server_IP:8080:

Django安装完成;Ctrl+C终止服务。
下面我们需要配置WSGI,并且把上面的Django服务配置为后台服务。
5、配置Gunicorn
$ cd ~/django_env
$ vim bin/gunicorn_start
写入:
#!/bin/bash
# Project Name
NAME="hello"
# Django Project Directory
DJANGODIR=/home/snail/hello
# Run gunicorn on the socket file
SOCKFILE=/home/snail/hello/hello/run/gunicorn.sock
# Gunicorn running as user and group
USER=snail
GROUP=snail
# Workers
NUM_WORKERS=3
#Module Setting
#replace hello with your project name
DJANGO_SETTINGS_MODULE=hello.settings
DJANGO_WSGI_MODULE=hello.wsgi
echo "Starting $NAME as `whoami`"
# Activate the virtual environment
cd $DJANGODIR
source ../bin/activate
export DJANGO_SETTINGS_MODULE=$DJANGO_SETTINGS_MODULE
export PYTHONPATH=$DJANGODIR:$PYTHONPATH
# Create the run directory if it doesn't exist
RUNDIR=$(dirname $SOCKFILE)
test -d $RUNDIR || mkdir -p $RUNDIR
# Start your Django Unicorn
# Programs meant to be run under supervisor should not daemonize themselves (do not use --daemon)
exec /home/snail/django_env/bin/gunicorn ${DJANGO_WSGI_MODULE}:application \
--name $NAME \
--workers $NUM_WORKERS \
--user=$USER --group=$GROUP \
--bind=unix:$SOCKFILE \
--log-level=debug \
--log-file=-
为文件添加可执行权限:
$ chmod u+x bin/gunicorn_start
6、安装配置Supervisor
$ sudo apt-get install supervisor
创建配置文件:
$ sudo vim /etc/supervisor/conf.d/hello.conf
[program:hello]
command = sh /home/snail/django_env/bin/gunicorn_start
user = snail
stdout_logfile = /home/snail/django_env/logs/gunicorn_supervisor.log
redirect_stderr = true
environment=LANG=en_US.UTF-8,LC_ALL=en_US.UTF-8
创建一些目录:
$ cd ~
$ mkdir -p hello/hello/run/
$ mkdir -p django_env/logs/
$ touch django_env/logs/gunicorn_supervisor.log
启动Supervisor服务:
$ sudo systemctl start supervisor
$ sudo systemctl enable supervisor

7、配置Nginx做反向代理
安装nginx:
$ sudo apt-get install nginx
创建虚拟主机配置文件:
$ sudo vim /etc/nginx/sites-available/hello
# Django running with Gunicorn Sock file
upstream hello_project {
server unix:/home/snail/hello/hello/run/gunicorn.sock fail_timeout=0;
}
server {
listen 80;
server_name you_domain.com;
client_max_body_size 4G;
access_log /var/log/nginx/hello_access.log;
error_log /var/log/nginx/hello_error.log;
location /static/ {
alias /home/snail/hello/static/;
}
location /media/ {
alias /home/snail/hello/media/;
}
location / {
proxy_set_header X-Forwarded-For $proxy_add_x_forwarded_for;
proxy_set_header Host $http_host;
proxy_redirect off;
# Try to serve static files from nginx, no point in making an
# *application* server like Unicorn/Rainbows! serve static files.
if (!-f $request_filename) {
proxy_pass http://hello_project;
break;
}
# Error pages
error_page 500 502 503 504 /500.html;
location = /500.html {
root /home/snail/hello/static/;
}
}
}
注意替换域名。
使配置生效:
$ sudo ln -s /etc/nginx/sites-available/hello /etc/nginx/sites-enabled/
$ sudo nginx -t
$ sudo systemctl restart nginx
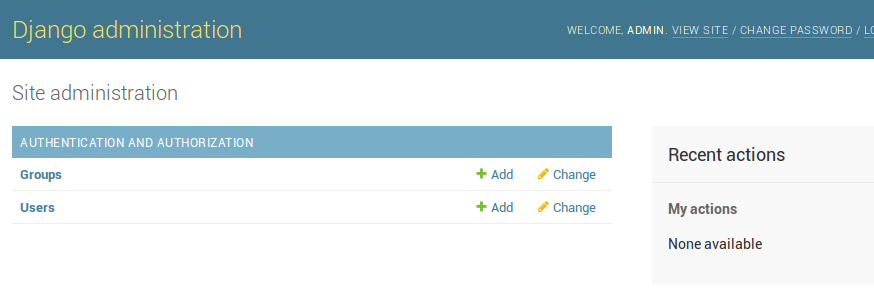
使用浏览器访问:your_domain.com

your_domain.com/admin/


遇到的错误:
Invalid HTTP_HOST header: 'your_ip'. You may need to add 'your_ip' to ALLOWED_HOSTS.
编辑项目setting.py:
# SECURITY WARNING: don't run with debug turned on in production!
DEBUG = True
ALLOWED_HOSTS = ['your_ip']
部署Django-Apache-Ubuntu 16.04:http://www.linuxdiyf.com/linux/23385.html
Ubuntu 16.04 安装 Django:http://www.linuxdiyf.com/linux/25769.html

