
一、Ubuntu Server 16.04.1系统安装
Ubuntu分为桌面版(desktop)和服务器版(Server),下面为大家介绍服务器版本Ubuntu Server 16.04.1的详细安装过程。
附Ubuntu Server 16.04.1系统镜像下载地址:
32位/64位:http://pan.baidu.com/s/1jHGKJmI 密码:zjb8
或:http://www.ubuntu.org.cn/download/server
用启动盘成功引导之后,出现下面的界面
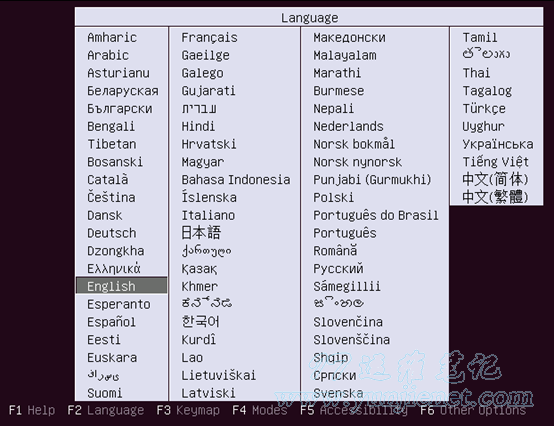
选择安装语言:中文(简体)
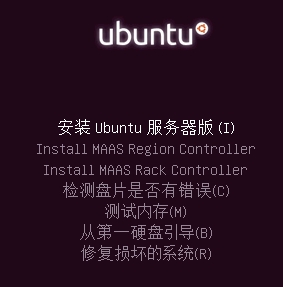
默认第一项:安装Ubuntu服务器版
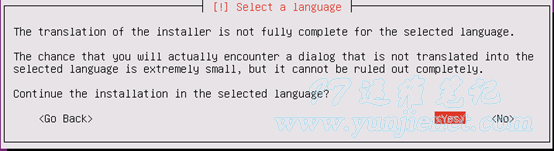
询问是否继续安装所选择的语言版本,选择”yes

选择”否”默认键盘模式

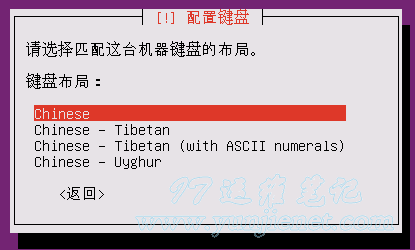
键盘布局:汉语

等待加载
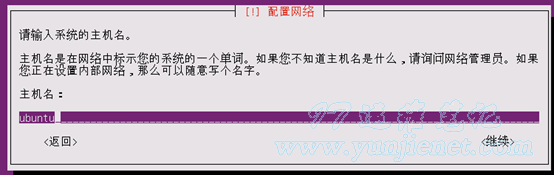
设置主机名字
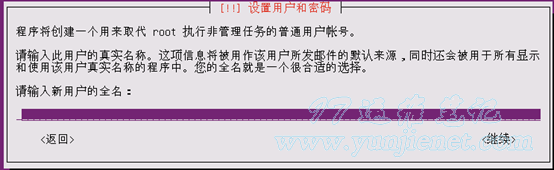
输入一个用户名(这个是登录账号)
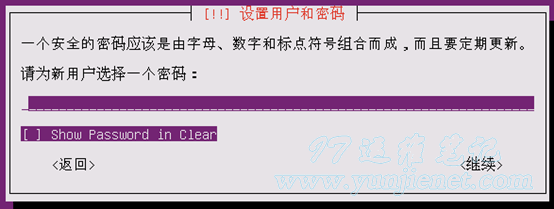
输入一个密码,你也可以不设置

选择否

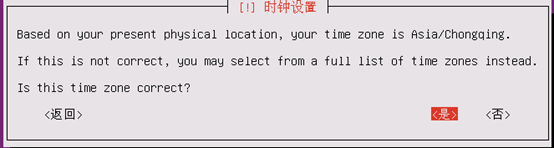
设置时区,已自动识别为 asia/chongqing ,选择 是
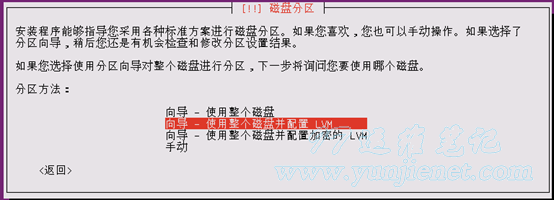
建设选择 手动
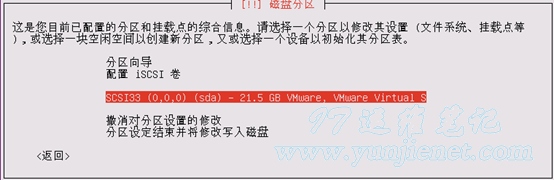
分区向导,选择需要安装的磁盘
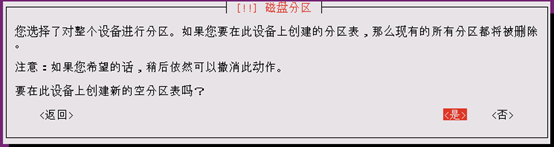
是
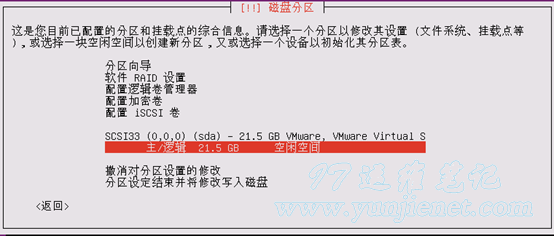
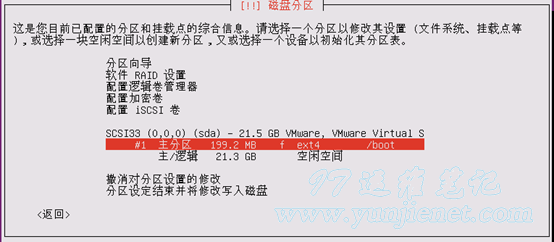
可以看到上面所选磁盘的容量信息,点击磁盘空闲空间,我这里磁盘大小是21G
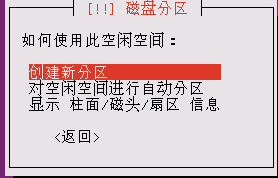
选择 创建新分区
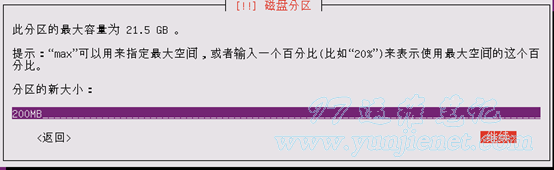
输入分区大小,先创建/boot分区,一般建议为200MB
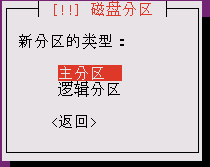
选择 主分区
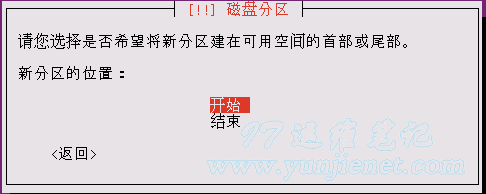
选择 开始
选择”EXT4日志文件系统”
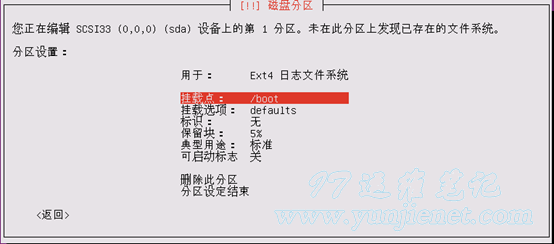
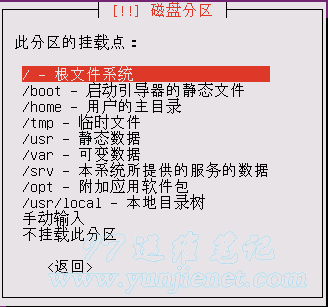
挂载点:选择/boot
点分区设定结束
继续选择空闲空间, 创建新分区

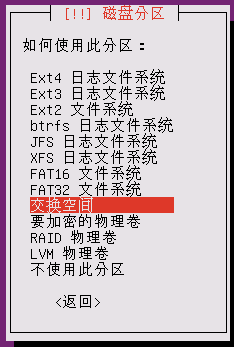
用于选择 交换空间
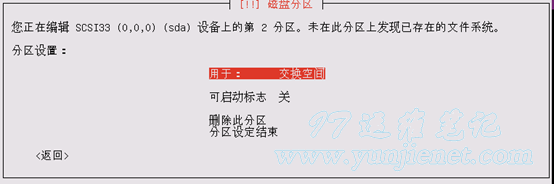
点分区设定结束,这样就设置好了swap分区(一般为内存大小的2倍),继续重复上面的步骤,在划分一个根分区
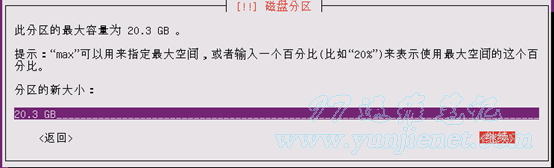
分区大小,这里默认显示剩余空间(分区之前先要规划好,我这里只分/boot,swap和跟分区”/”),
把所有剩下的空间都给”/”分区,继续

挂载点:/
点分区设定结束
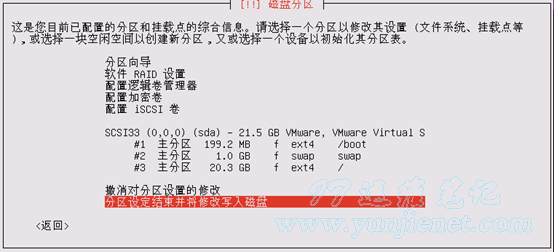
分区设定结束并将修改写入磁盘
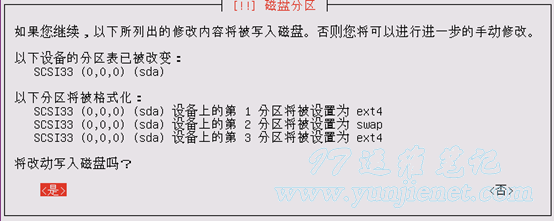
是否写入磁盘,是

开始安装系统
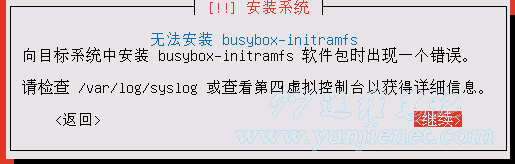
什么出错,查了下发现网上很多说14版以后安装时选择中文会出错,不知道是不是VMware 问题还是系统问题,所以我们只能重新选择英文版现装一次啦。
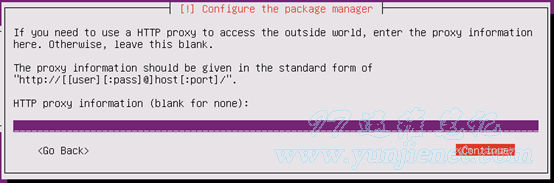
默认,继续
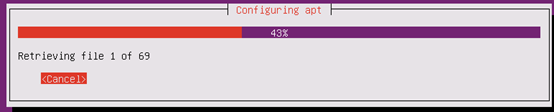
正在安装
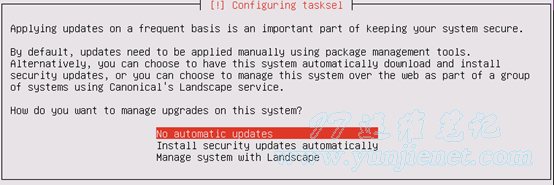
没有自动更新
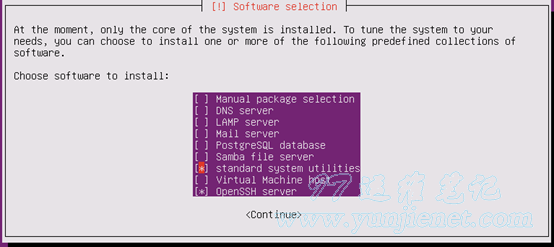
用空格选择:OpenSSH server
点继续(服务器根据自己需求。其它软件后面再安装)
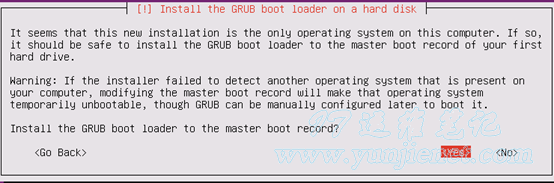
默认,是
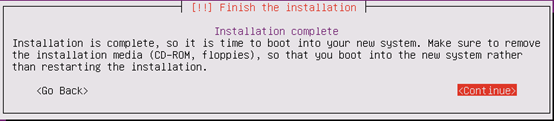
继续,系统自动重启
进入登陆界面

至此,Ubuntu Server 16.04.1安装完成。
二、开启root账号
查看分区信息并设置开启 root 用户
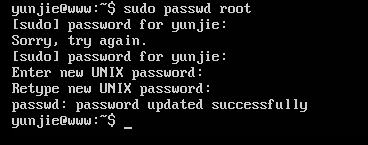

sudo passwd root #启用root账号并设置密码,根据提示输入2次密码
su root #从普通用户切换到root用户,根据提示输入root密码
sudo passwd -l root #禁用root账号,如果要启用,输入sudo passwd root再次设置root密码
三、设置IP地址、网关、DNS
1、设置IP地址、网关
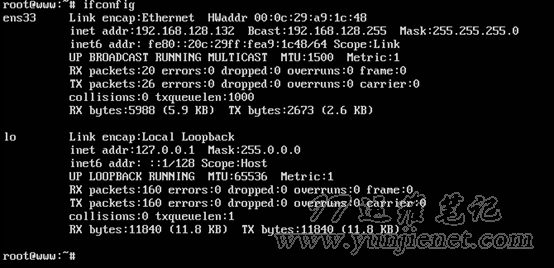
安装时未设置IP 信息,所以现在是DHCP 模式

修改如下信息
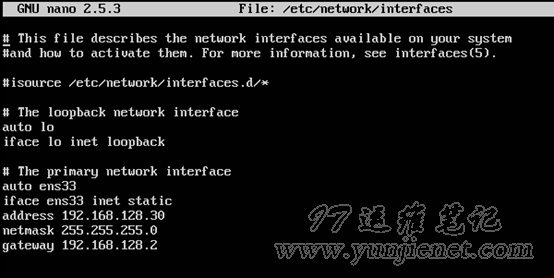
nano /etc/network/interfaces #编辑网网卡配置文件
auto lo
iface lo inet loopback
auto ens33 #开机自动连接网络(ens33 为网卡名称)
iface ens33 inet static #static表示使用固定ip,dhcp表述使用动态ip
address 192.168.128.30 #设置ip地址
netmask 255.255.255.0 #设置子网掩码
gateway 192.168.128.2 #设置网关
dns-nameservers 101.226.4.6 #设置DNS
dns-nameservers 8.8.8.8
ctrl+o #保存配置
ctrl+x #退出
service networking restart #重启网络
这是我发现还是下不了网,那第就是DNS缓存还没设好
设置dns
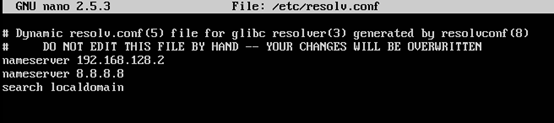
nano /etc/resolv.conf #编辑配置文件,添加以下内容(也可使用vi)
nameserver 192.168.128.2 #设置首选dns
nameserver 8.8.8.8 #设置备用dns
ctrl+o #保存配置
ctrl+x #退出
注:如果默认示设置DNS,再在网卡上设置好DNS后重启网络可能还是上不了网就是要设置这里面的DNS啦 !
ssh还不能登录上,就修改sshd的默认配置
ssh出现permission denied (publickey)问题:
修改/etc/ssh/sshd-config文件.
将其中的PermitRootLogin no修改为yes
PubkeyAuthentication yes修改为no
AuthorizedKeysFile .ssh/authorized_keys前面加上#屏蔽掉,
PasswordAuthentication no修改为yes就可以了。
修改源
使用光盘源
mount /dev/cdrom /mnt #把系统光盘镜像文件挂载到/mnt目录下
cp /etc/apt/sources.list /etc/apt/sources.listbak #备份原文件
vi /etc/apt/sources.list #编辑,删除全部内容,添加下面一行
deb file:///mnt saucy main
:q #保存配置
apt-get update #更新源
apt-get upgrade #更新软件包
参数说明:
#/mnt为挂载的目录(可以自己创建)
#saucy为Ubuntu Server 13.10 的版本名称(其它版本请改名),main为系统安装文件pool目录下的文件夹名字
#umount /mnt 命令可以卸载
使用163源
打开http://mirrors.163.com/.help/ubuntu.html 有修改说明
使用说明
以Wily(15.10)为例, 编辑/etc/apt/sources.list文件, 在文件最前面添加以下条目(操作前请做好相应备份)
deb http://mirrors.163.com/ubuntu/ wily main restricted universe multiverse
deb http://mirrors.163.com/ubuntu/ wily-security main restricted universe multiverse
deb http://mirrors.163.com/ubuntu/ wily-updates main restricted universe multiverse
deb http://mirrors.163.com/ubuntu/ wily-proposed main restricted universe multiverse
deb http://mirrors.163.com/ubuntu/ wily-backports main restricted universe multiverse
deb-src http://mirrors.163.com/ubuntu/ wily main restricted universe multiverse
deb-src http://mirrors.163.com/ubuntu/ wily-security main restricted universe multiverse
deb-src http://mirrors.163.com/ubuntu/ wily-updates main restricted universe multiverse
deb-src http://mirrors.163.com/ubuntu/ wily-proposed main restricted universe multiverse
deb-src http://mirrors.163.com/ubuntu/ wily-backports main restricted universe multiverse
或者下载相应版本的sources.list, 覆盖/etc/apt/sources.list即可(操作前请做好相应备份)
使用其它源请参考以上修改。
至此,Ubuntu Server 16.04.1基本安装配置完成。