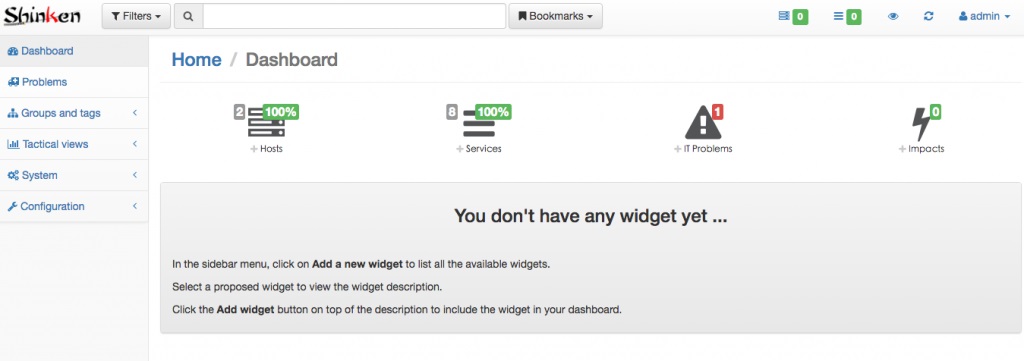
Shinken是一款类似于Nagios的开源监控工具,使用Python开发。它基于Web,可以通过直观的方式监控系统的各种健康状况。
Shinken主页:http://www.shinken-monitoring.org/
Shinken源代码:https://github.com/naparuba/shinken
Shinken is a modern, Nagios compatible monitoring framework, written in Python. Its main goal is to give users a flexible architecture for their monitoring system that is designed to scale to large environments.
Shinken is backwards-compatible with the Nagios configuration standard and plugins. It works on any operating system and architecture that supports Python, which includes Windows, GNU/Linux and FreeBSD.
Ubuntu安装配置Shinken
Shinken是Python框架,可以使用pip安装:
$ sudo apt-get install python-setuptools python-pip python-pycurl python-cherrypy3
$ sudo useradd -m -s /bin/bash shinken
$ sudo pip install shinken
启动shinken服务:
$ sudo systemctl enable shinken
$ sudo systemctl start shinken
安装Shinken Webui2,Webui2是Shinken的web接口,最简单的安装方法是使用shinken命令安装:
$ sudo su - shinken # 登录shinken用户
$ shinken --init # 创建配置文件
$ shinken install webui2
$ exit
安装MongoDB:
$ sudo apt-get install mongodb
安装MongoDB Python驱动:
$ sudo pip install pymongo requests arrow bottle
配置Shinken使用webui2:
$ sudo vim /etc/shinken/brokers/broker-master.cfg

更改管理员用户密码:
$ sudo vim /etc/shinken/contacts/admin.cfg

重启Shinken服务:
$ sudo systemctl restart shinken
使用浏览器访问:http://your_server_IP6:7767,测试:

安装Nagios插件:
$ sudo apt-get install nagios-plugins*
安装perl模块:
$ sudo apt-get install cpanminus
$ sudo cpanm Net::SNMP
$ sudo cpanm Time::HiRes
$ sudo cpanm DBI
创建链接和日志文件:
$ sudo chmod u+s /usr/lib/nagios/plugins/check_icmp
$ sudo ln -s /usr/lib/nagios/plugins/utils.pm /var/lib/shinken/libexec/
$ sudo mkdir -p /var/log/rhosts
$ sudo touch /var/log/rhosts/remote-hosts.log
安装两个shinken包:
$ sudo su - shinken # 登录shinken用户
$ shinken install ssh
$ shinken install linux-snmp
$ exit
添加要监控的Linux主机
主机信息:hostname:test ip:192.168.0.111
登录到192.168.0.111,安装snmp:
$ sudo apt-get install snmp snmpd
配置snmp:
$ sudo vim /etc/snmp/snmpd.conf
修改如图:

注释掉:
rocommunity public default -V systemonly
rocommunity6 public default -V systemonly
在注释掉的行下添加:
default -V systemonly
default -V systemonly
recommunity your_password # 设置密码
重启snmpd服务:
$ sudo systemctl restart snmpd
登录到Shinken服务器,创建主机配置文件:
$ sudo vim /etc/shinken/hosts/test.cfg # 目录默认有一个localhost.cfg,监控本机
写入内容:
define host{
use generic-host,linux-snmp,ssh
contact_groups admins
host_name test
address 192.168.0.111
_SNMPCOMMUNITY your_password # 就是前面snmp设置的密码
}
修改Shinken服务器的SNMP配置:
$ sudo vim /etc/shinken/resource.d/snmp.cfg
把public改为your_password。
完成安装
使用浏览器访问http://your_shinken_IP:7767,用前面设置的管理员用户登录:

常见问题:
NTP CRITICAL: No response from NTP server

安装ntp:
$ sudo apt-get install ntp ntpdate
参考文档:http://shinken.readthedocs.io/en/latest/

