本文在UDK2015的基础上,写一个shell命令,并在shell下运行。
一些说明
UEFI下的shell有两个版本,一个是shell ver 1的版本,对应EdkShellPkg;另一个是shell ver 2的版本,对应ShellPkg。
目前UDK2015中已经没有EdkShellPkg的源码了,需要另外下载。
所以本文以ShellPkg中的源代码为基础。
光一个shell没有办法直接运行,本文将shell依附在OVMF上,因此本文编译使用的是OvmfPkgX64.dsc。
使用OVMF的好处是可以通过qemu来运行该,另外一个好处是,OvmfPkgX64.dsc已经包含了ShellPKg.dsc,因此不需要额外做什么操作。
添加源代码
前面已经讲到,shell的源码位于ShellPkg目录下:
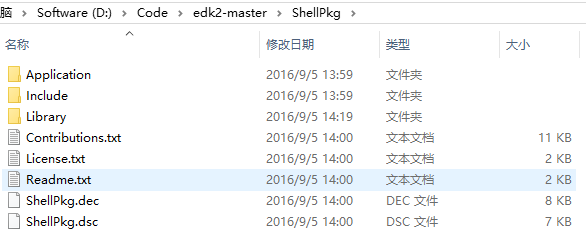
其中:
Application包含的是shell本身,以及一些简单的应用示例。这些应用——包括shell本身——都可以在shell下直接运行。
Include包含一些必须的头文件。
Library包含了shell所需的基本库和shell下可以执行的命令:
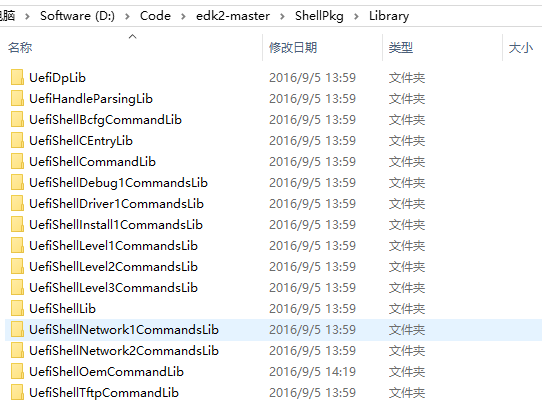
在shell ver 2中,shell命令都包含了库中。比如上面的UefiShellNetwork1CommandsLib,它内部就包含了ifconfig和ping两个命令。
在shell ver 2中,各个命令按照功能划分在不同的目录下。
本文就要按照上面的形式,来创建一个自己的Lib,并在其中实现命令。
创建OemLib
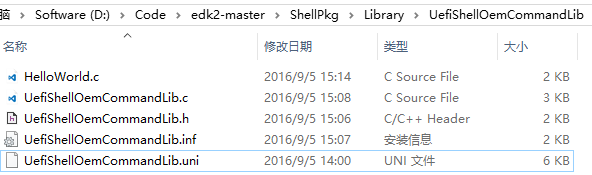
这里需要说明的是inf和uni文件:
inf用于编译,表示的是一个模块。
uni是一个字符串的文件,用于显示shell命令中的一些帮助命令或者错误信息。
之后需要将inf文件添加到ShellPkg.dsc中:
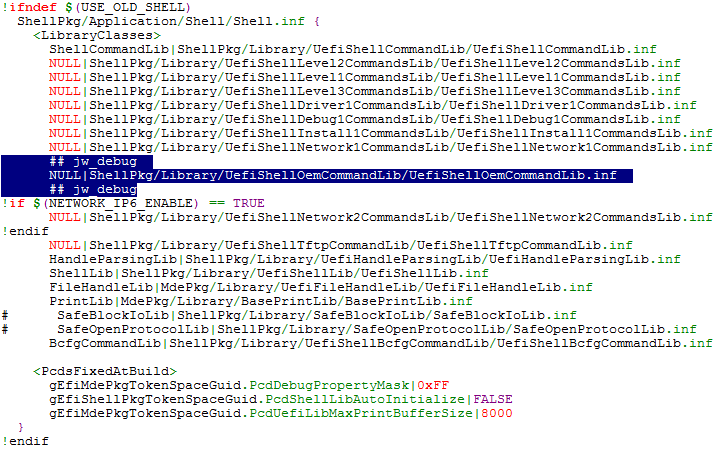
这样才能编译到OVMF中去。
具体的代码:
#include "UefiShellOemCommandLib.h"
CONST CHAR16 gShellOemFileName[] = L"ShellCommand";
EFI_HANDLE gShellOemHiiHandle = NULL;
/**
Return the file name of the help text file if not using HII.
@return The string pointer to the file name.
**/
CONST CHAR16*
EFIAPI
ShellCommandGetManFileNameOem (
VOID
)
{
return gShellOemFileName;
}
/**
Constructor for the Shell xxx Command library.
Install the handlers for xxx UEFI Shell command.
@param ImageHandle The image handle of the process.
@param SystemTable The EFI System Table pointer.
@retval EFI_SUCCESS The Shell command handlers were installed sucessfully.
@retval EFI_UNSUPPORTED The Shell level required was not found.
**/
EFI_STATUS
EFIAPI
ShellOemCommandLibConstructor (
IN EFI_HANDLE ImageHandle,
IN EFI_SYSTEM_TABLE *SystemTable
)
{
gShellOemHiiHandle = NULL;
//
// check our bit of the profiles mask
//
if ((PcdGet8 (PcdShellProfileMask) & BIT3) == 0) {
return EFI_SUCCESS;
}
gShellOemHiiHandle = HiiAddPackages (
&gShellOemHiiGuid, gImageHandle, // gShellOemHiiGuid需要在ShellLibHiiGuid.h和ShellPkg.dec中定义,并声明在UefiShellOemCommandLib.inf
UefiShellOemCommandLibStrings, NULL // UefiShellOemCommandLibStrings就对应到UefiShellOemCommandLib.uni
);
if (gShellOemHiiHandle == NULL) {
return EFI_DEVICE_ERROR;
}
//
// Install our Shell command handler
//
ShellCommandRegisterCommandName (
L"helloworld", ShellCommandRunHelloWorld, ShellCommandGetManFileNameOem, 0,
L"helloworld", TRUE , gShellOemHiiHandle, STRING_TOKEN (STR_GET_HELP_OEM) // STR_GET_HELP_OEM在UefiShellOemCommandLib.uni中定义
);
return EFI_SUCCESS;
}
/**
Destructor for the library. free any resources.
@param ImageHandle The image handle of the process.
@param SystemTable The EFI System Table pointer.
**/
EFI_STATUS
EFIAPI
ShellOemCommandLibDestructor (
IN EFI_HANDLE ImageHandle,
IN EFI_SYSTEM_TABLE *SystemTable
)
{
if (gShellOemHiiHandle != NULL) {
HiiRemovePackages (gShellOemHiiHandle);
}
return EFI_SUCCESS;
}
其它文件的代码略。
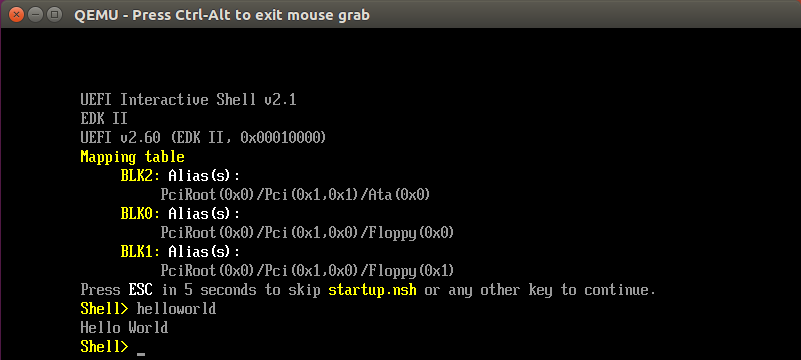
运行结果
运行qemu,在打开qemu窗口后按键,会进行UEFI的Front Page。
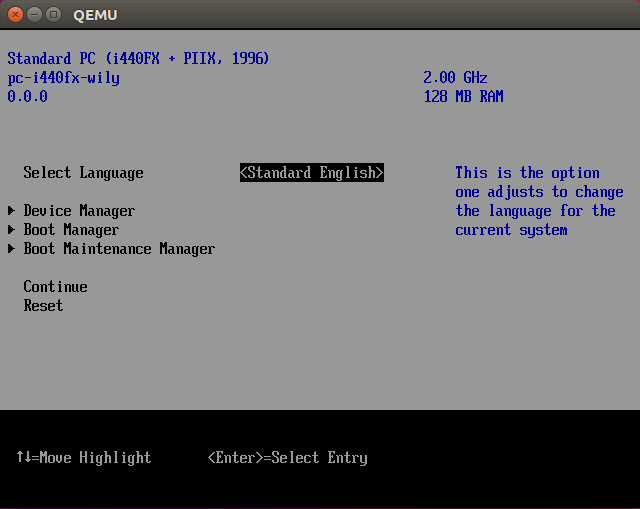
选择Boot Manager,进入shell,运行helloworld的结果: