Shopware是开源的电子商务软件,使用PHP编写,基于Symfony 和 Zend 组件。
主页:https://github.com/shopware/shopware
官网的介绍:
Shopware 5 is the next generation of open source e-commerce software made in Germany. Based on bleeding edge technologies like Symfony 2, Doctrine 2 & Zend Framework Shopware comes as the perfect platform for your next e-commerce project. Furthermore Shopware 5 provides an event-driven plugin system and an advanced hook system, giving you the ability to customize every part of the platform.
需要安装的环境:
Nginx
PHP-FPM
MariaDB
#1 安装一些工具包
$ sudo apt-get update
$ sudo apt-get install software-properties-common vim wget ant
#2 安装MariaDB
执行如下命令安装MariaDB-serve和client:
$ sudo apt-get install mariadb-server mariadb-client
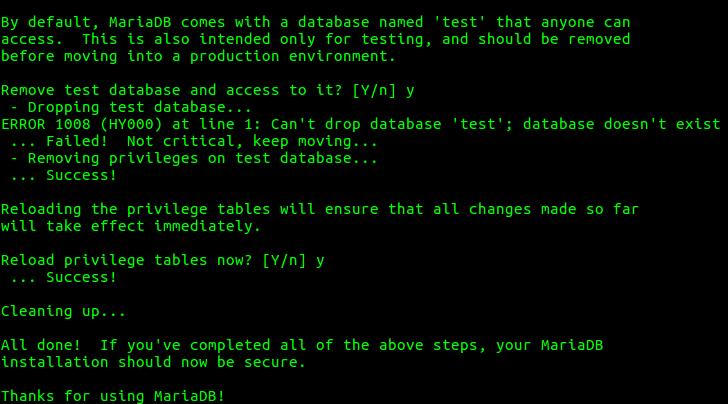
执行初始化安全脚本(使用root权限执行):
$ sudo mysql_secure_installation
Enter current password for root (enter for none): <-- 回车
Set root password? [Y/n] <-- y
New password: <-- 设置新root密码
Re-enter new password: <-- 重复输入密码
Remove anonymous users? [Y/n] <-- y
Disallow root login remotely? [Y/n] <-- y
Reload privilege tables now? [Y/n] <-- y

登录MariaDB:
$ sudo mysql -u root -p

为Shopware创建数据库和用户:
MariaDB [(none)]> CREATE DATABASE shopware;
MariaDB [(none)]> GRANT ALL PRIVILEGES ON shopware.* TO 'shopware'@'localhost' IDENTIFIED BY 'test1234';
MariaDB [(none)]> FLUSH PRIVILEGES;
MariaDB [(none)]> \q
上面命令创建了一个数据库shopware和一个数据库用户shopware,密码test1234。
#3 安装PHP和PHP模块
$ sudo apt-get install php-fpm php-cli php-json php-curl php-gd php-mysql php-xml php-mbstring
配置PHP:
$ sudo sed -i "s/memory_limit = .*/memory_limit = 512M/" /etc/php/7.0/cli/php.ini
$ sudo sed -i "s/;date.timezone.*/date.timezone = UTC/" /etc/php/7.0/cli/php.ini
$ sudo sed -i "s/;cgi.fix_pathinfo=1/cgi.fix_pathinfo=0/" /etc/php/7.0/fpm/php.ini
$ sudo sed -i "s/upload_max_filesize = .*/upload_max_filesize = 100M/" /etc/php/7.0/fpm/php.ini
$ sudo sed -i "s/post_max_size = .*/post_max_size = 100M/" /etc/php/7.0/fpm/php.ini
重启PHP-FPM:
$ sudo systemctl restart php7.0-fpm
#4 安装Shopware
从Github下载最新Shopware版本:
$ sudo mkdir /var/www
$ cd /var/www
$ sudo wget https://github.com/shopware/shopware/archive/v5.1.6.zip
解压:
$ sudo unzip v5.1.6.zip
$ sudo mv shopware-5.1.6 shopware
$ cd shopware/build
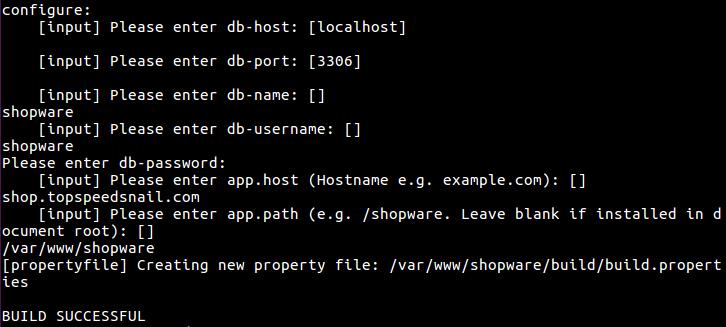
配置shopware和数据库连接:
$ sudo ant configure
$ sudo ant build-unit
按照提示回答一系列问题。

下载测试images:
$ cd ../
$ sudo wget http://releases.s3.shopware.com/test_images.zip
$ sudo unzip test_images.zip
更改权限:
$ sudo chown -R www-data:www-data /var/www/shopware
$ cd /var/www/shopware
$ sudo chmod 755 config.php
$ sudo chmod -R 755 var
$ sudo chmod -R 755 web
$ sudo chmod -R 755 files
$ sudo chmod -R 755 media
$ sudo chmod -R 755 engine/Shopware/Plugins/Community
#5 安装配置Nginx
安装Nginx:
$ sudo apt-get install nginx
创建自签名证书:
$ sudo mkdir -p /etc/nginx/ssl
$ cd /etc/nginx/ssl
$ sudo openssl genrsa -des3 -passout pass:x -out shopware.pass.key 2048
$ sudo openssl rsa -passin pass:x -in shopware.pass.key -out shopware.key
$ sudo rm shopware.pass.key
$ sudo openssl req -new -key shopware.key -out shopware.csr
$ sudo openssl x509 -req -days 365 -in shopware.csr -signkey shopware.key -out shopware.crt
如果你不想使用自签名证书,可以使用免费的letsencrypt 或者购买的证书。
添加Nginx Server Block:
$ sudo vim /etc/nginx/sites-available/shopware
server {
listen 443;
server_name your_domain.com;
root /var/www/shopware;
index shopware.php index.php;
location / {
rewrite files/documents/.* /engine last;
rewrite backend/media/(.*) /media/$1 last;
try_files $uri $uri/ /shopware.php$args;
}
ssl on;
ssl_certificate /etc/nginx/ssl/shopware.crt;
ssl_certificate_key /etc/nginx/ssl/shopware.key;
ssl_session_timeout 5m;
ssl_ciphers 'AES128+EECDH:AES128+EDH:!aNULL';
ssl_protocols TLSv1 TLSv1.1 TLSv1.2;
ssl_prefer_server_ciphers on;
access_log /var/log/nginx/shopware.access.log;
error_log /var/log/nginx/shopware.error.log;
location ~ \.php$ {
fastcgi_split_path_info ^(.+\.php)(/.+)$;
fastcgi_pass unix:/var/run/php/php7.0-your_user_name-fpm.sock;
fastcgi_index shopware.php;
include fastcgi_params;
fastcgi_param SCRIPT_FILENAME $document_root$fastcgi_script_name;
fastcgi_intercept_errors off;
fastcgi_buffer_size 16k;
fastcgi_buffers 4 16k;
}
location ~ /\.ht {
deny all;
}
}
server {
listen 80;
server_name your_domain.com;
add_header Strict-Transport-Security max-age=2592000;
rewrite ^ https://$server_name$request_uri? permanent;
}
注意替换上面的域名。
生配置生效:
$ sudo ln -s /etc/nginx/sites-available/shopware /etc/nginx/sites-enabled/shopware
测试配置:
$ sudo nginx -t
重启Nginx:
$ sudo systemctl restart nginx
默认用户名密码demo。

