PS:刚接触服务器端的开发,今天上班头要求在unbuntu下先搭建一个服务器,于是乎,又开始摸索了。进入正题,选择的是Apache服务器。系统版本是:Ubuntu Kylin 15.10.
Apache服务器的下载与安装
选择的是使用apt-get开发包打包的方式安装的。下面是安装步骤:
安装apache,在命令行终端中输入以下命令:
$ sudo apt-get install apache2
如果网络连接正常的话,应该是会顺利安装好的,在安装完成之后,需要重启apache服务,在命令行终端中输入如下命令:
$ sudo /etc/init.d/apache2 restart
如果重启之后出现如下提示,则表示服务器已经启动成功了。
lucas@lucas-ThinkPad-PC:~$ sudo /etc/init.d/apache2 restart
[ ok ] Restarting apache2 (via systemctl): apache2.service.
可能出现的问题1: NameVirtualHost * :80 has no VirtualHost.
出现上述问题的原因:定义了多个NameVirtualHost,我们只需要将/etc/apahce2/ports.conf 中的NameVirtualHost * :80注释掉即可。
可能出现的问题2: Could not reliably determine the server’s fully qualified domain name, using 127.0.1.1 for ServerName
1. 原因:根据提示,无法可靠的确定服务器的有效域名,使用127.0.1.1作为服务器域名。因此在下面的测试中,应该使用127.0.1.1,而不是127.0.0.1。
2. 解决方法:终端输入vim /etc/apache2/httpd.conf,在文件中添加ServerName localhost:80 ,再次restart apache2,就可以使用127.0.0.1来访问web服务器了。
Apache服务器的测试
既然已经安装好了,name我们当然应该测试一下了。
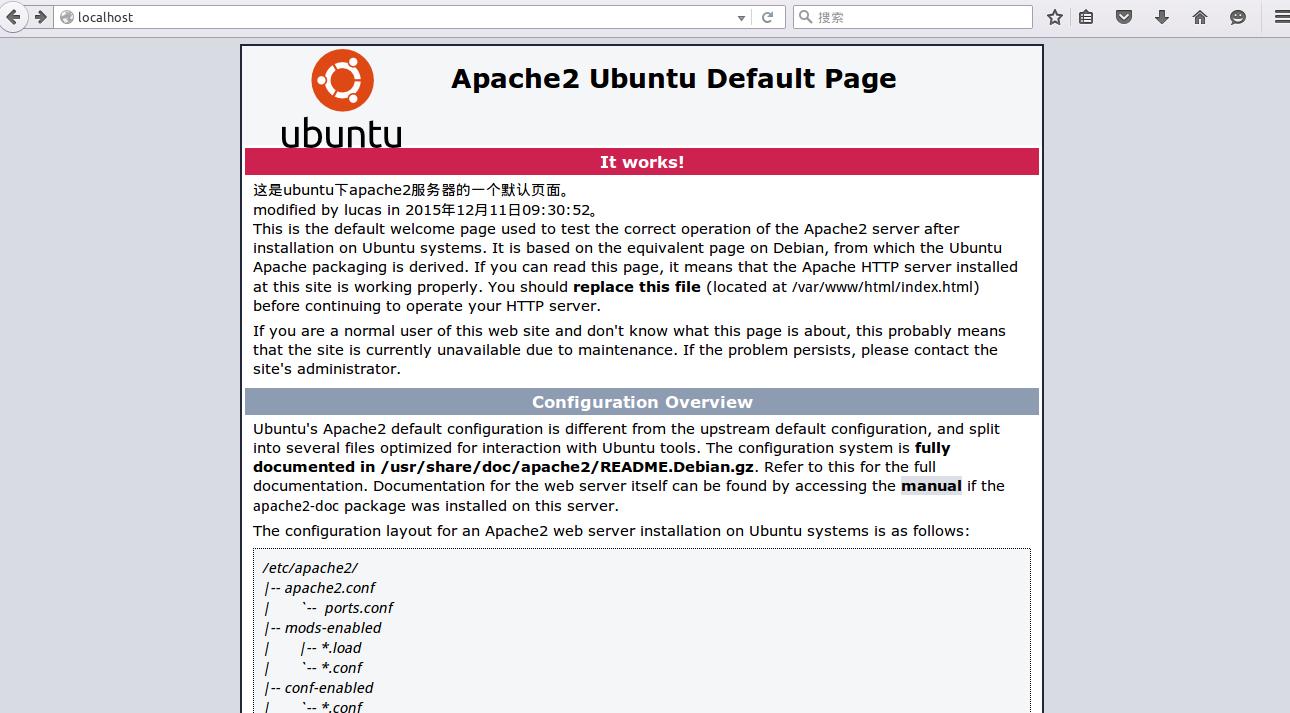
在浏览器中输入http://localhost或者http://127.0.0.1,如果看到了It works,那么就说明服务器成功安装了。Apache的默认安装,会在var/www/的目录,这个就是我们的web目录了,所有需要能够浏览器访问的web文件都要放在这个目录里。
下面是测试结果:

PS:好了。至此Ubuntu下Apache服务器的安装就已经完成,下面的文章中,我将继续Apache服务器配置文件的详解。
ubuntu-15.04服务器版下搭建apache2+svn+svnmanager服务:http://www.linuxdiyf.com/linux/16388 .html
Ubuntu无法重启apache2:http://www.linuxdiyf.com/linux/16382.html
Ubuntu15.4安装和修改Apache2端口:http://www.linuxdiyf.com/linux/15875.html
Ubuntu服务器上部署apache2:http://www.linuxdiyf.com/linux/14663.html
Linux下安装配置PHP环境(Apache2):http://www.linuxdiyf.com/linux/12355.html

