使用root用户登录进入linux,打开进去终端
在终端中输入:vi /etc/sysconfig/network-scripts/ifcfg-eth0
(最后的eth0是网卡名,我的是Auto_eth0)

回车后,开始编辑,填写ip地址、子网掩码、网关、DNS等。其中“红框内的信息”是必须得有的。

编辑完成后,保存退出
重启网络服务
service network restart或/etc/init.d/network restart
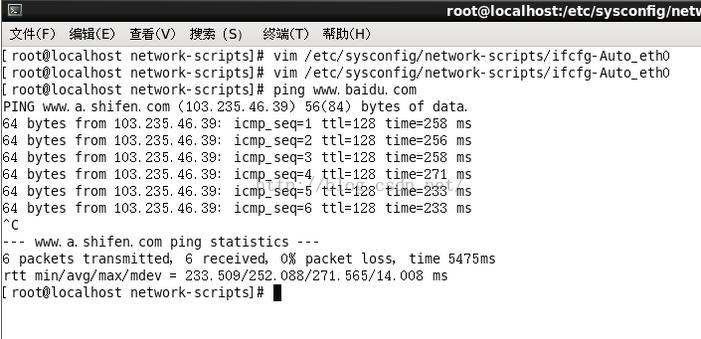
然后ping网关,ping外网进行测试。都能ping通表示网络正常

详细摘要:
---修改ip地址---
即时生效:
# ifconfig eth0 192.168.1.155 netmask 255.255.255.0
重启生效:
修改vi /etc/sysconfig/network-scripts/ifcfg-eth0
---修改default gateway---
即时生效:
# route add default gw 192.168.1.1
重启生效:
修改vi /etc/sysconfig/network-scripts/ifcfg-eth0
---修改dns---
修改vi /etc/resolv.conf
修改后即时生效,重启同样有效
---修改host name---
即时生效:
# hostname test1
重启生效:
修改vi /etc/sysconfig/network
在Linux操作系统下修改IP、DNS和路由配置:http://www.linuxdiyf.com/linux/242.html
Ubuntu 15.04配置静态IP和DNS:http://www.linuxdiyf.com/linux/14252.html
Ubuntu 12.04静态ip的设置方法:http://www.linuxdiyf.com/linux/2958.html
VMWare虚拟机下为Ubuntu 12.04.1配置静态IP(NAT方式):http://www.linuxdiyf.com/linux/1916.html

