
FastDFS是一个开源的轻量级分布式文件系统,它对文件进行管理,功能包括:文件存储、文件同步、文件访问(文件上传、文件下载)等,解决了大容量存储和负载均衡的问题。特别适合以文件为载体的在线服务,如相册网站、视频网站等等。
FastDFS的项目主页:https://github.com/happyfish100/fastdfs
本文以Ubuntu 14.04 32位操作系统为例进行安装,FastDFS版本为5.08。(宿主机是一台老式iMac,不支持64位的Ubuntu虚拟机安装)
第一步:安装Git
fastdfs依赖libfastcommon,需要从github上clone到本地编译安装。因此首先需要安装Git。
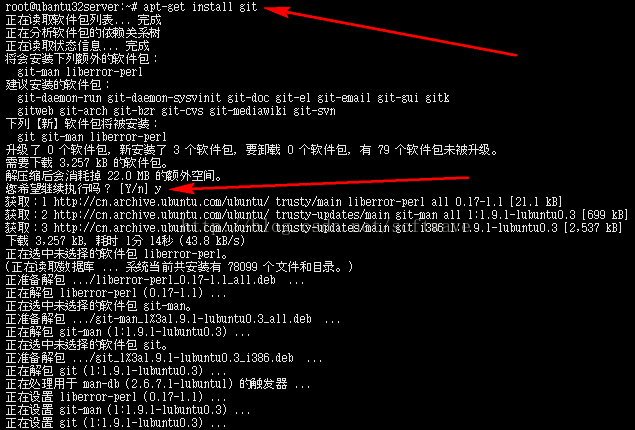
执行命令:
apt-get install git
第二步:克隆libfastcommon库
libfastcommon的源在项目 https://github.com/happyfish100/libfastcommon 需要使用git将其clone至本地安装。
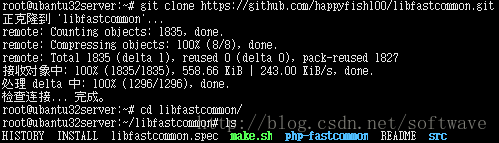
执行命令:
git clone https://github.com/happyfish100/libfastcommon.git
第三步:安装libfastcommon依赖
进入libfastcommon目录,依次执行脚本:
./make.sh
和
./make.sh install
如图:

第四步:设置环境变量和软链接
在32位ubuntu中,libfastcommon会安装在/usr/lib 中,64位系统则安装在 /usr/lib64 中。依次执行以下命令:(根据自己的操作系统选择路径)
export LD_LIBRARY_PATH=/usr/lib/
和
ln -s /usr/lib/libfastcommon.so /usr/local/lib/libfastcommon.so

第五步:下载、解压并安装FastDFS
FastDFS的Github下载地址为:https://github.com/happyfish100/fastdfs/releases
下载完成后,执行命令:
tar xzf fastdfs-5.08.tar.gz
进入解压后的目录,依次执行:
./make.sh
和
./make.sh install
如图:

第六步:修改配置文件
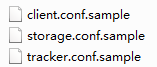
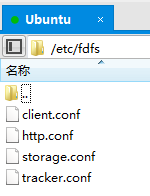
在默认安装路径 /etc/fdfs 下,有三个示例配置文件:
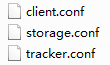
首先将这三个文件名中的sample去掉,改为:
然后修改 tracker.conf 文件中的日志存放路径 和 tracker server HTTP端口号:
# the base path to store data and log files
base_path=/home/fastdfs/log
注意,这个路径是根据实际情况自定义的,文件路径需要安装者手动创建,否则后续步骤会报“路径不存在”的错误,下同。
# HTTP port on this tracker server
http.server_port=8090
接下来修改 storage.conf 文件:
group_name=group1
store_path0=/home/fastdfs/storage0
base_path=/home/fastdfs/log
tracker_server=192.168.1.108:22122
http.server_port=8888
配置文件里有详细注释说明,这里不再赘述每个参数的作用。
继续修改 client.conf 文件:
base_path=/home/fastdfs/log
tracker_server=192.168.1.108:22122
http.tracker_server_port=8888
#include http.conf
注意,#include http.conf 这句,原配置文件中有2个#,删掉一个。
最后,修改 http.conf 文件。http.conf 文件在解压目录的conf目录下,里面有个默认图片路径,愿意改就改了吧。
http.anti_steal.token_check_fail=/home/fastdfs/anti-steal.jpg
最后确认一下,四个配置文件:
第七步:启动服务
依次执行:
/usr/bin/fdfs_trackerd /etc/fdfs/tracker.conf
/usr/bin/fdfs_storaged /etc/fdfs/storage.conf
如果上一步配置文件中的自定义路径没创建,有可能报这个错误:

手动创建目录即可。
执行以下命令,验证服务:
neps -ef |grep fdfs

第八步:测试上传文件
首先准备一张图片文件,例如:/home/software/qq.jpg
将这张图片上传至FastDFS,执行:
fdfs_test /etc/fdfs/client.conf upload /home/software/qq.jpg
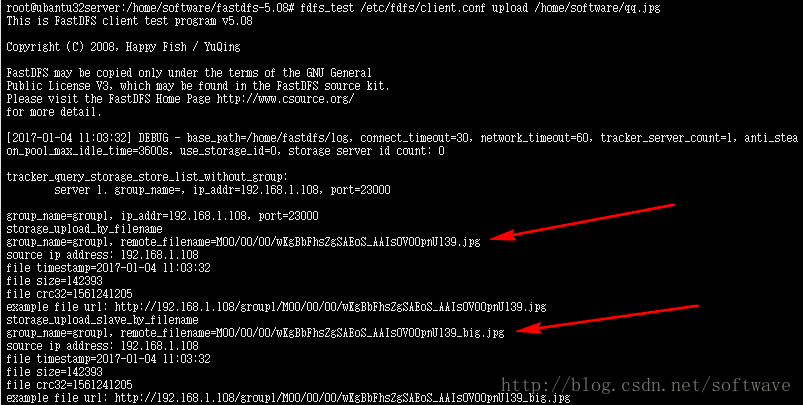
上传成功,生成了两个文件。