安装samba服务器之后,很方便的实现Windows和Linux进行通信。
安装步骤:
1、在Ubuntu系统下面安装samba服务:
nii@ww:~$ sudo apt-get install samba
2、关闭Ubuntu的防火墙
nii@ww:~$ sudo service ufw stop
3、配置smb.conf文件
step 1 先进入配置文件的目录,然后切换到管理员权限
nii@ww:~$ cd /etc/samba/
nii@ww:/etc/samba$ su
Password:
step 2 先把 smb.conf备份一下,以防操作不当,还可以把该文件恢复回来
root@ww:/etc/samba# cp smb.conf smb.conf.bak
step 3 用vim打开smb.conf,把193行到200行修改成如下图所示:

4、添加samba添加一个root用户
root@ww:/etc/samba# smbpasswd -a root
New SMB password:
Retype new SMB password:
输入密码,我这里输入的是root用户,也可以输入其他的存在用户名。
5、重启sam服务
root@ww:/etc/samba# service smbd restart
6、最后在Windows下运行窗口输入\加上IP就好了,例如我的就是:
\\192.168.142.191\root
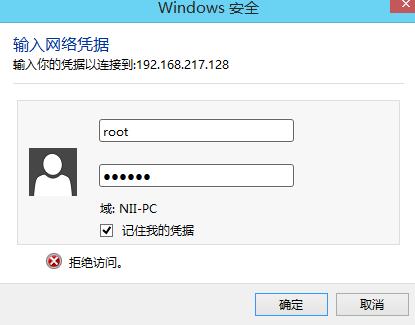
在弹出的窗口,输入刚刚添加的用户名和密码,就可以访问Linux的文件目录了。如图:


使用Samba实现Linux与Windows文件共享实践:http://www.linuxdiyf.com/linux/12880.html
文件共享利器——Samba搭建实录:http://www.linuxdiyf.com/linux/12472.html
如何在Fedora或CentOS上使用Samba共享文件夹:http://www.linuxdiyf.com/linux/12396.html
Linux下配置Samba服务器:http://www.linuxdiyf.com/linux/12333.html
Linux中Samba搭建及文件共享打印:http://www.linuxdiyf.com/linux/12143.html

